
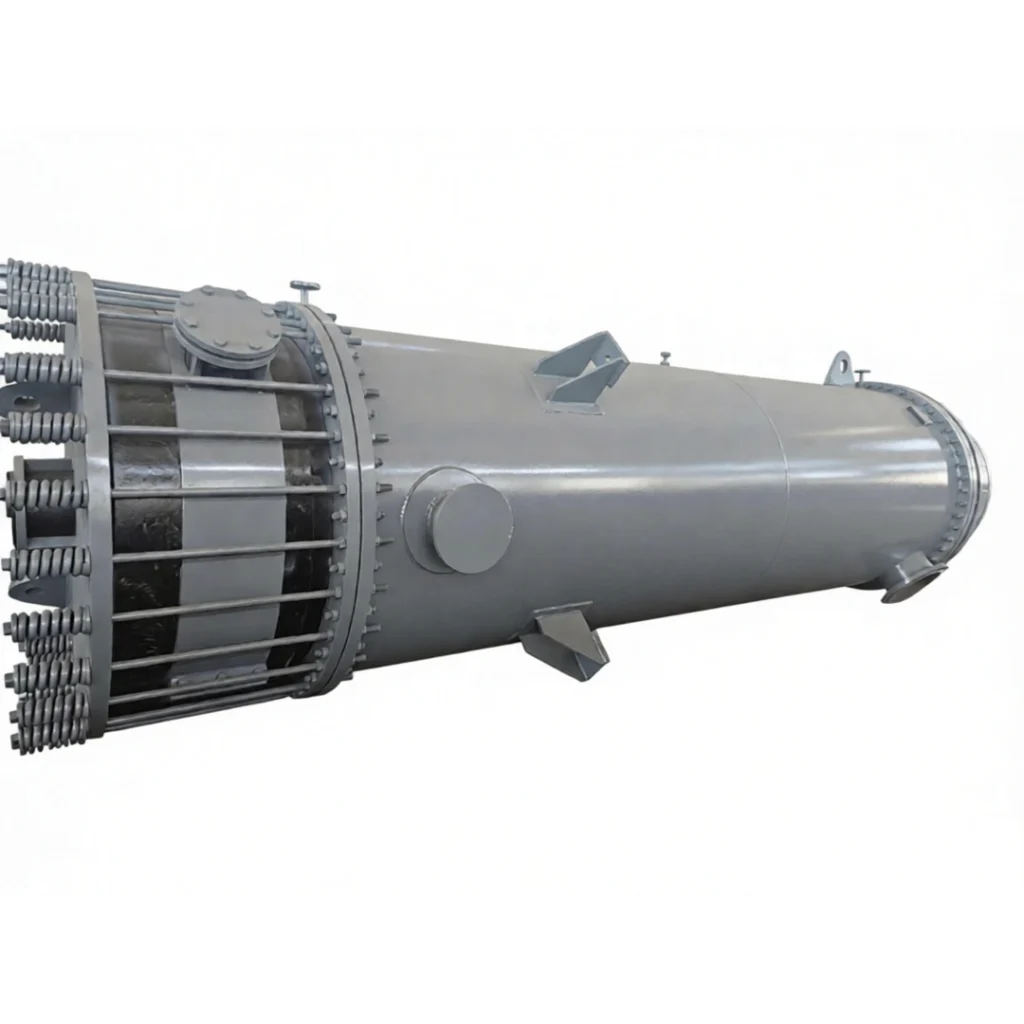
Graphite heat exchangers are widely used in corrosive chemical processes because of their excellent corrosion resistance and thermal conductivity. However, to ensure safe and efficient operation, proper installation, careful operation, and regular maintenance are essential. This guide summarizes key precautions and practical tips based on our product manual for impermeable circular graphite heat exchangers. Whether you are installing a new unit or maintaining an existing one, following these guidelines will help you avoid equipment damage, leakage, and costly downtime.
Understanding the Equipment
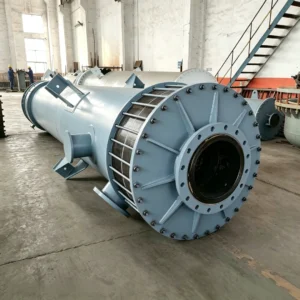
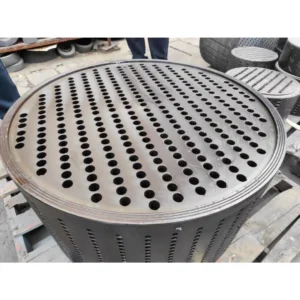
The graphite heat exchanger consists of a metal shell and impermeable circular graphite heat exchange blocks. Corrosive materials flow through the longitudinal holes, while hot and cold carriers—such as steam, water, or chilled brine—flow through the transverse holes. The modular design allows easy disassembly and replacement of individual components. Key features include high structural strength, high temperature resistance, strong pressure resistance, good impact resistance, compact size, and simple maintenance. The unit can be used for evaporation, heating, cooling, and condensation. When used as a condenser, a gas-liquid separator must be installed at the bottom.
Technical Specifications:
-
Design temperature: Tube side 165°C; Shell side 60°C
-
Design pressure: Tube side 0.4 MPa; Shell side 0.4 MPa
Installation Precautions
-
Check and tighten bolts. Equipment bolts can loosen during transportation. After the unit arrives, tighten all bolts evenly to prevent seal leakage. Avoid over-tightening one side, which can damage graphite components.
-
Handle with care. Graphite is brittle. Lift and place the equipment gently—never impact, vibrate, or drag it on the ground. Do not pry or tie steel wire ropes directly to exposed graphite parts.
-
Do not use flanges as lifting points. The flange connections must not bear weight or significant torsional stress. If external piping is heavy, install a separate pipe support near the heat exchanger. The top pipeline should not be too heavy and must allow for thermal expansion and contraction.
-
Avoid forced connections. When connecting external piping, do not force alignment. Tighten bolts evenly and symmetrically. Place the graphite sealing gasket on the graphite surface, not on the steel flange. Use soft gaskets such as rubber, expanded PTFE, or flexible graphite—never hard gaskets like hard PTFE.
-
Install vertically. The verticality after installation should not exceed 2% of the total height.
-
Install a filter if needed. If the material contains mechanical impurities, install a filter before the inlet pipe to prevent scaling and blockage of the holes.
-
Use stress compensation. Pipelines connected to the graphite pipe should be equipped with a stress compensation device.
-
Install valves on exhaust and drain pipes. The highest and lowest points of the shell have exhaust and drain pipes. Install valves—do not use blind plates for sealing.
-
Protect graphite parts during welding. When welding or cutting on the shell, do not damage the internal graphite parts. Before welding on the casing, fill the shell side with cooling water to the specified level. When welding supports, circulate cooling water to avoid excessive deformation.
-
Be careful with threaded holes. When fastening bolts at the connection between the cover plates and heads, ensure they do not touch the graphite heads.
-
Hoist one unit at a time. During hoisting and installation, move each unit separately. Do not lift two or more units at once to avoid collisions.
Operating Guidelines
-
Stay within specifications. Operate only within the design temperature and pressure limits. The working medium must be compatible with modified resin-impregnated graphite. If the medium pressure exceeds the design pressure, install a pressure reducing device at the inlet.
-
Avoid strong impact. When opening or closing valves, adjust the flow rate gradually to the maximum.
-
Vent air before use. Open the vent valve at the top of the shell and close it only after all air is expelled.
-
For heating: Introduce the material first, then the heat carrier. Increase the heat carrier flow rate slowly and raise the temperature gradually to ensure uniform heating. Avoid dry burning. On shutdown, reverse the order.
-
For cooling or condensation: Introduce the coolant first, then the material. When using chilled brine, first pass the heat medium, then the chilled brine. On shutdown, reverse the order. Discharge any steam or non-condensable gas inside the shell to maintain heat transfer efficiency.
-
Drain residual carriers on shutdown. When the equipment is shut down, drain the residual hot and cold carriers and thoroughly remove them by blowing or other methods, especially in winter. Take appropriate insulation and antifreeze measures. Retighten all bolts before and after starting and stopping.
-
Handle crystallizing or scaling materials. Drain materials on shutdown. After shutdown, rinse the longitudinal holes from top to bottom with a solution (such as hot water) that can dissolve crystals or precipitates without damaging graphite parts. Avoid large solid particles in the channels to prevent wear.
-
Never suddenly raise or lower temperature. Rapid temperature changes can damage the equipment.
-
Do not leave the equipment unused for long periods. If storage is necessary, fill the longitudinal and transverse holes with water and check regularly for liquid loss. Refill if needed and take antifreeze measures in winter.
-
Discharge non-condensable gases and condensed water frequently. Check regularly that the cooling medium is not interrupted.
-
Minimize start-stop cycles. This extends service life. Retighten all bolts before restarting after each shutdown. Ensure the sealing gasket is leak-free and tighten bolts evenly.
-
Stop operation if gasket leakage occurs. Readjust the fastening bolts. If leakage persists, drain all materials from the shell side and replace the gasket.
Maintenance Best Practices
-
Disassemble for inspection when needed. If heat transfer capacity drops significantly, flushing is ineffective, or leakage is found, disassemble the equipment for inspection. Before dismantling, rinse with hot water to remove residual corrosive media. Disassemble in a vertical position.
-
Check for material leakage. Regularly check whether the water and gas discharged from the shell contain materials from the longitudinal holes. If any are found, stop operation immediately to avoid corrosion of metal components.
-
Maintain good cooling water quality. Poor water quality can reduce heat exchange efficiency and damage equipment.
-
Clean regularly. Remove scale to improve heat transfer capacity and prevent internal stress concentration. Never use mechanical methods for cleaning. Use steam blowing or chemical methods. Ensure chemicals do not react with graphite or the adhesive.
-
Avoid knocking or bumping. When repairing equipment, do not damage the bonding joints between graphite parts and adhesive.
-
Protect graphite parts during welding repairs. Take effective cooling and protective measures to prevent damage to graphite parts and adhesive joints.
-
Perform regular anti-corrosion treatment. Treat the outer surface based on the raw materials, media, and environmental conditions.
-
Contact the manufacturer for damaged components. Prompt repair ensures safe and reliable operation.
Final Thoughts
Graphite heat exchangers are reliable and efficient when installed and operated correctly. By following these installation, operation, and maintenance guidelines, you can extend equipment life, reduce downtime, and maintain safe production. Always prioritize safety and consult the manufacturer for specific questions or repairs.